For New Bedford, Massachusetts homeowners looking to enhance their outdoor spaces, installing a fence offers both privacy and security. This article equips you with comprehensive DIY fence installation tips, from planning your layout and obtaining necessary permits to choosing durable materials and mastering the installation process. Learn how to ensure a strong, long-lasting fence finish that complements your yard’s unique character.
- Planning Your Fence: Permits and Layout
- Choosing the Right Material for Your New Bedford Yard
- Tools and Equipment Essential for Installation
- Step-by-Step Guide to DIY Fence Building
- Tips for a Strong, Long-Lasting Fence Finish
Planning Your Fence: Permits and Layout
Before installing a fence, New Bedford homeowners should carefully plan its layout and obtain any necessary permits. Check with your local building department to understand the regulations and requirements for fence installation in your area. This might include setting back distances from property lines, height restrictions, or specific material guidelines.
Consider the purpose of your fence—to enclose a backyard, provide privacy, or enhance security—as this will influence both the design and placement. Measure the perimeter of the area to be fenced and create a detailed layout plan, noting any obstacles like trees, utility lines, or existing structures that might affect installation. This planning stage ensures a smoother process and helps you stay compliant with local regulations.
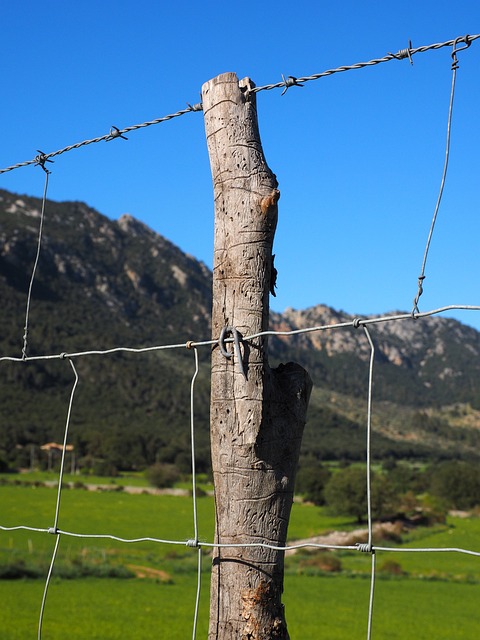
Choosing the Right Material for Your New Bedford Yard
When it comes to DIY fence installation, selecting the appropriate material is half the battle won. For New Bedford homeowners, considering the local climate and your yard’s unique features is crucial. Wood, for instance, is a popular choice due to its aesthetics and relatively low cost. However, it requires regular maintenance to withstand the area’s humidity and potential termite infestations. Alternatively, vinyl fencing is low-maintenance and durable but might be more expensive. It’s also ideal for those seeking a long-term solution as it doesn’t warp or rot like wood.
The right material choice depends on your budget, desired look, and how much upkeep you’re willing to take on. Inspecting the surrounding landscape is key—consider proximity to water sources, existing vegetation that might affect growth, and foot traffic. These factors will influence not just the type of fence but also its design and placement for a cohesive and functional yard enhancement.
Tools and Equipment Essential for Installation
When it comes to DIY fence installation, having the right tools and equipment is paramount. For New Bedford homeowners, a standard toolkit will suffice for most tasks, but certain specialized items are essential. At minimum, prepare for your project by gathering a measuring tape, level, post-hole digger, hammer, concrete mix, rebar, and a variety of screwdrivers and hammers tailored to different head sizes and styles.
Additionally, consider investing in a string line tool for precise measurements and alignment, as well as work gloves, safety goggles, and ear protection for your comfort and safety during installation. These tools will not only make the process smoother but also ensure that your fence is built sturdy and secure, enhancing the overall look of your New Bedford property.
Step-by-Step Guide to DIY Fence Building
Building your own fence can be a rewarding project for New Bedford homeowners looking to enhance their outdoor space. Here’s a straightforward guide to help you navigate the DIY fence-building process, ensuring a sturdy and aesthetically pleasing result. Start by measuring the perimeter of the area where you want the fence to stand. Mark out the boundaries using stakes and string to create a clear outline. Next, decide on the type of fence best suited for your needs—wooden, vinyl, or chain link each offers unique advantages. Gather the necessary materials, including posts, rails, pickets (or panels), concrete mix, and tools like post-hole diggers and saws. Clear the ground within the marked perimeter, removing any grass, plants, or debris to create a solid base for your fence. Dig holes for the fence posts using the post-hole digger, ensuring they are deep enough to support the weight of the fence. Place concrete in the holes, allowing it to set and cure completely before proceeding. Attach rails to the posts, securing them with brackets or screws. Then, add pickets (or panels) to the rails, spacing them evenly for a uniform look. Finally, finish by applying a suitable sealant to protect your new fence from the elements.
Tips for a Strong, Long-Lasting Fence Finish
To ensure your fence finish is strong and long-lasting, start by choosing high-quality materials. This includes durable fencing posts, rails, and pickets. Stainless steel or treated wood are excellent choices for coastal areas like New Bedford due to their resistance to moisture and rot.
Regular maintenance is key to preserving your fence’s appearance and integrity. Apply a fresh coat of paint or stain every few years to protect against the elements. Inspect your fence regularly for any signs of damage, such as loose pickets or rot, and address issues promptly to prevent further complications.